

So you created your wonderful WordPress website and would like to track its usage 🙂 Of course, adding Google analytics seems like an obvious option. Firstly, you created Google Analytics account. What’s next? Obviously, you can install additional WordPress plugins to enable it on your website. However, more plugins may slow your website down. You may wonder how to add Google Analytics support to WordPress website without a plugin. In addition, adding Google analytics to any website requires some effort to make it GDPR-compliant. What exact steps you should take to achieve that? Are there any privacy-friendly and lightweight Google Analytics alternatives which are fully GDPR-compliant? Keep reading to find out answers to all these questions 🙂
Adding Google Analytics to WordPress website without a plugin step-by-step
Get Global Site Tag from Google analytics
There are a lot of tutorials explaining how to add Google analytics to a website. However, many of them don’t specify how to add Google Analytics to WordPress websites. If they do, the presented way usually requires a plugin. Below we’ll focus on adding Google Analytics to WordPress website without a plugin.
Firstly, you should register at Google Analytics and add your website as a property. Follow this tutorial if you need help performing the above steps on Google Analytics platform.
Eventually, you will have the snippet below which is Global site tag. Note, that YOUR_ID is your unique id.
<!-- Global site tag (gtag.js) - Google Analytics -->
<script async src="https://www.googletagmanager.com/gtag/js?id=[YOUR_ID]]"></script>
<script>
  window.dataLayer = window.dataLayer || [];
  function gtag(){dataLayer.push(arguments);}
  gtag('js', new Date());

  gtag('config', 'YOUR_ID');
</script>
Basically, Global site tag is tracking JavaScript script which is asynchronously downloaded from Google on each website page access. Of course, each website HTML page should reference it.
What’s next? After you created the property, Google Analytics suggests:
Copy the global site tag into the <head> section of your HTML. Or, if you use a website builder (e.g. GoDaddy, Shopify, etc), copy the global site tag into your website builder’s custom HTML field.
You wonder how to achieve that?
In short, create a child WordPress theme and copy header.php from parent to child theme. Jump here if you want to add Global Site Tag straight away to your website.
Keep reading though, if you’d like to simulate adding the tag to a sample WordPress website using a child theme. Similarly, you would add the tag to your development or staging website.
Why to create a child WordPress theme?
WordPress website design is mostly managed by your theme. It doesn’t matter if you purchased it or use a free theme. Frequently, as your website grows you need to modify it. How to do it safely and correctly? Right, create a child WordPress theme extending your theme. Why? Because, once you upgrade your theme, the changes you made will be lost.
Firstly, we’ll bootstrap WordPress sample site. Then we’ll create a child theme of its default parent theme.
Bootstrap WordPress sample site
We’ll practice adding a child theme to WordPress sample project I presented in this post. There we explored installing WordPress in dockerized LAMP stack. In addition, WordPress was configured using Bedrock boilerplate.
Though, if you have WordPress installed, you can jump straight to creation of a child theme.
Let’s start 🙂
- clone sample project from my github
- to speed up things, we won’t follow all the instructions in the post to install WordPress. Instead, we’ll checkout a branch where everything is already configured for you in
.envfiles. There, I set configurations for both Bedrock and Docker-Compose.
git checkout wp_configuredcd www/sample- install WordPress:
composer install cd ../../- bootstrap LAMP stack with WordPress installed:
docker-compose up -d - navigate to http://localhost:4090/
WordPress installation screen should appear

Click Install. It won’t actually install, as we did it already using composer.
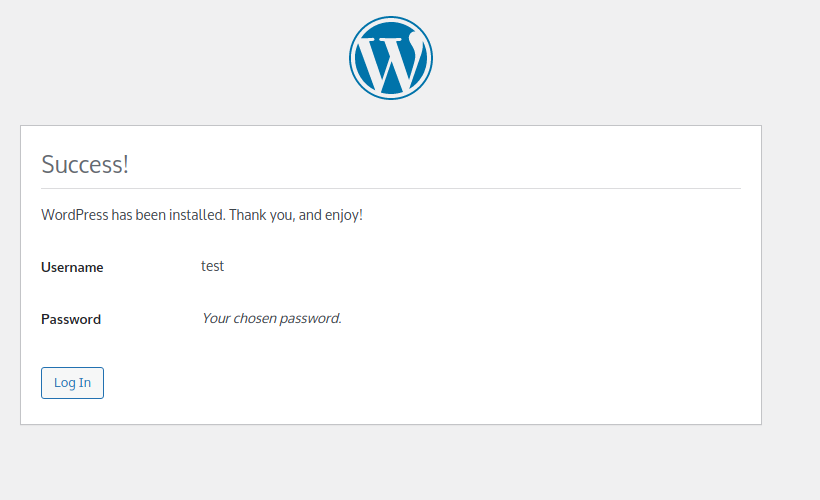
- login to WordPress website admin dashboard using the credentials you’ve just chosen.
- navigate to http://localhost:4090/ in a different browser tab to view the website. It’s using the latest WordPress theme
Twenty Twenty Oneby default. To verify this, go to http://localhost:4090/wp/wp-admin/themes.php and notice that the theme is active.
We finished bootstrapping a sample WordPress website. Next, we are going to create a child WordPress theme. This is the necessary step for adding Google Analytics support.
Create a child WordPress theme
- copy existing theme to Bedrock themes folder:
cp -r www/sample/public_html/wp/wp-content/themes/twentytwentyone www/sample/public_html/app/themescd www/sample/public_html/app/themes
- create child theme folder:
mkdir twentytwentyone_child
cd twentytwentyone_child- create
style.cssfile with below contents:
/*
Theme Name: twentytwentyone_child
Description: twentytwentyone_child
Author: you
Author URI:
Template: twentytwentyone
Version: 1.0
*/
Pay attention that Template is the parent theme’s folder name.
- activate it in WordPress admin dashboard. You may also use
wp cliinsidesample-webserverdocker container’swww/samplefolder:
wp theme activate twentytwentyone_child
Success: Switched to 'twentytwentyone_child' theme.- Navigate to http://localhost:4090/. The website is now using the child theme we created which is identical to the parent theme.
Adding Global site tag to a child theme
Creating style.css in a child theme’s dedicated folder is the minimum step you need to take in order to create a child WordPress theme. Of course, practical usage of a child theme may involve many more steps. Yet, we’ll just override parent’s theme header.php and add new file functions.php to the child theme. First, we’ll add Global site tag to child theme’s header.php. Then, we’ll load child and parent theme style.css in functions.php. If you would like to learn more about modifying your base theme by extending it with a child theme refer to this official WordPress tutorial.
- copy
header.phpfrom parent to child theme:
www/sample/public_html/app/themes$ cp twentytwentyone/header.php twentytwentyone_child/
- add Global site tag after
<?php wp_head(); ?>just before head tag closes in the child themeheader.php.
It should look like below:
<head>
	<meta charset="<?php bloginfo( 'charset' ); ?>" />
	<meta name="viewport" content="width=device-width, initial-scale=1" />
	<?php wp_head(); ?>
	<!-- Global site tag (gtag.js) - Google Analytics -->
	<script async src="https://www.googletagmanager.com/gtag/js?id=[YOUR_ID]]"></script>
	<script>
	window.dataLayer = window.dataLayer || [];
	function gtag(){dataLayer.push(arguments);}
	gtag('js', new Date());

	gtag('config', 'YOUR_ID');
	</script>
</head>- Create functions.php inside the child theme folder and add below code in it:
<?php

add_action( 'wp_enqueue_scripts', 'mychildtheme_enqueue_styles' );
    function mychildtheme_enqueue_styles() {
       wp_enqueue_style( 'parent-style', get_template_directory_uri() . '/style.css' );
}

function awesome_enqueue_styles() {

    $parent_style = 'parent-style';
    wp_enqueue_style( $parent_style, get_template_directory_uri() . '/style.css' );
    wp_enqueue_style( 'child-style', get_stylesheet_directory_uri().'/style.css');
}
add_action( 'wp_enqueue_scripts', 'awesome_enqueue_styles' );- refresh http://localhost:4090/ in a browser and view the page source. Note that Global site tag HTML code was added just above
</head>tag.
- if you are using Bedrock WordPress, let’s not ignore the child theme folder in
www/sample/.gitignoreby adding!public_html/app/themes/*child*to it.
After you deploy a Child theme change to a live website, visit it and notice that the visit is tracked in a real time report in Google Analytics. After a while, you should see statistics of your website visitors in Google Analytics.
GDPR compliance
So you added Google analytics to your website. Is your website GDPR compliant? Unfortunately, it’s not. Even though your website users’ IP addresses are hidden in Google analytics reports, you still need to get their approval to be tracked. You wonder why? Because, tracking data is sent to Google. Therefore, you as a website owner need to provide a way to opt out of tracking. See information here about what you can do to make your website GDPR compliant. Later, I’ll cover this topic in a dedicated post.
In addition, consider GDPR compliant Google Analytics alternatives like Plausible.
Summary
As always, feel free to share and comment.
You may also find below articles interesting:
- Add Redis Cache to WordPress
- Point host name to WordPress in Docker
- Kubernetes StatefulSets Demo
- Dynamic Provisioning of Kubernetes Storage
Bonus: Recommended Google Analytics courses on Pluralsight:
Sign up using this link to get exclusive discounts like 50% off your first month or 15% off an annual subscription)
Wondering where to host your WordPress site? Siteground is highly recommended because of its great support and caching solution. ( I use it myself 🙂 )